Easy Origami Flower Crepe Paper Flower Directions
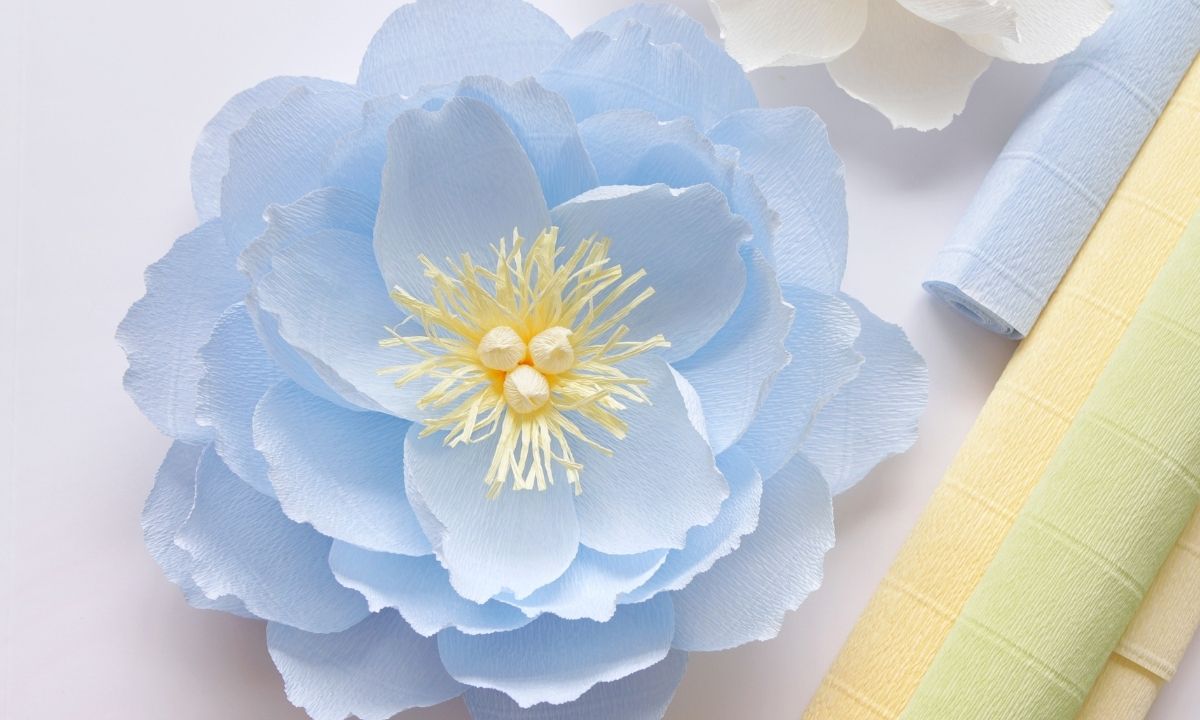
Easy crepe paper flowers for beginners
Crepe paper is very different from cardstock paper because you can give it any desired shape. The airiness and fluffiness of flowers made from crepe paper are simply impossible to compare with flowers made from any other paper.
How long do crepe paper flowers last?
Crepe paper flowers can last for a very long time (even several years) if the external environment is favorable and doesn't contribute to their damage.
The two main enemies of crepe paper are direct sunlight and moisture. Therefore if you keep the flowers in a well-ventilated, non-humid place, and keep them out of direct sunlight, they can last for a very long time.
But before you start making some complex flowers, you need to practice with it a little. First you should feel the crepe paper in your hands, pull it and stretch it, get used to it, and then move on to something more advanced.
And I think that this very simple, medium sized flower is perfect if you are just starting out and want to get some basic experience of working with crepe paper.
So let's make it together ;-)!
1. Choose the right crepe paper
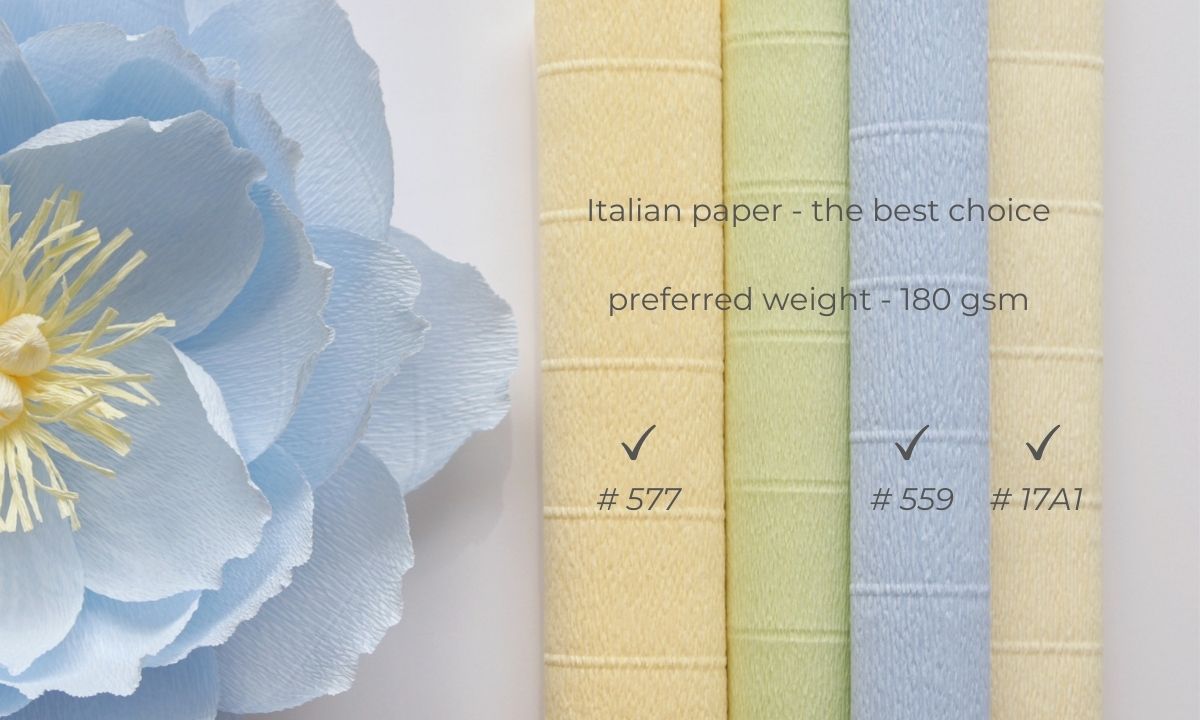
It's very important what kind of crepe paper you will make this flower from. Because in order for large flower petals to hold their shape well, you need to use good quality heavy crepe paper.
So you simply won't be able to make this flower out of light weight thin paper.
If you're not yet familiar with the types of crepe paper, how to choose the right crepe paper for your project and where to buy it, I have a very detailed Crepe Paper Guide (which I recently updated) that you can easily download, and it's absolutely free.
I also have a separate blog post and video about how to make petals from crepe paper, and in general, how to work with it.
It was based on the example of peony petals, but the stretching techniques that I show there are universal for any petals, and I give the important basics of working with crepe paper there, and what are the common mistakes you can make, so be sure to check it out if you haven't seen it yet.
For this flower, I've picked Italian paper in gorgeous light blue color for the petals and vanilla and light yellow for the center. For reference, the numbers of these papers are 559, 17A1, and 577.
My blue paper weighs 140 gsm, but if you will have 180 gsm, it will be even better.
2. Prepare the base
For the base you can use thick cardstock or even cardboard.
The main idea here is that this base should be thick and not flimsy.
If you will use thin and flimsy paper for the base, the finished flower simply will not hold its shape and will sort of fall apart. So make sure that you use something solid.
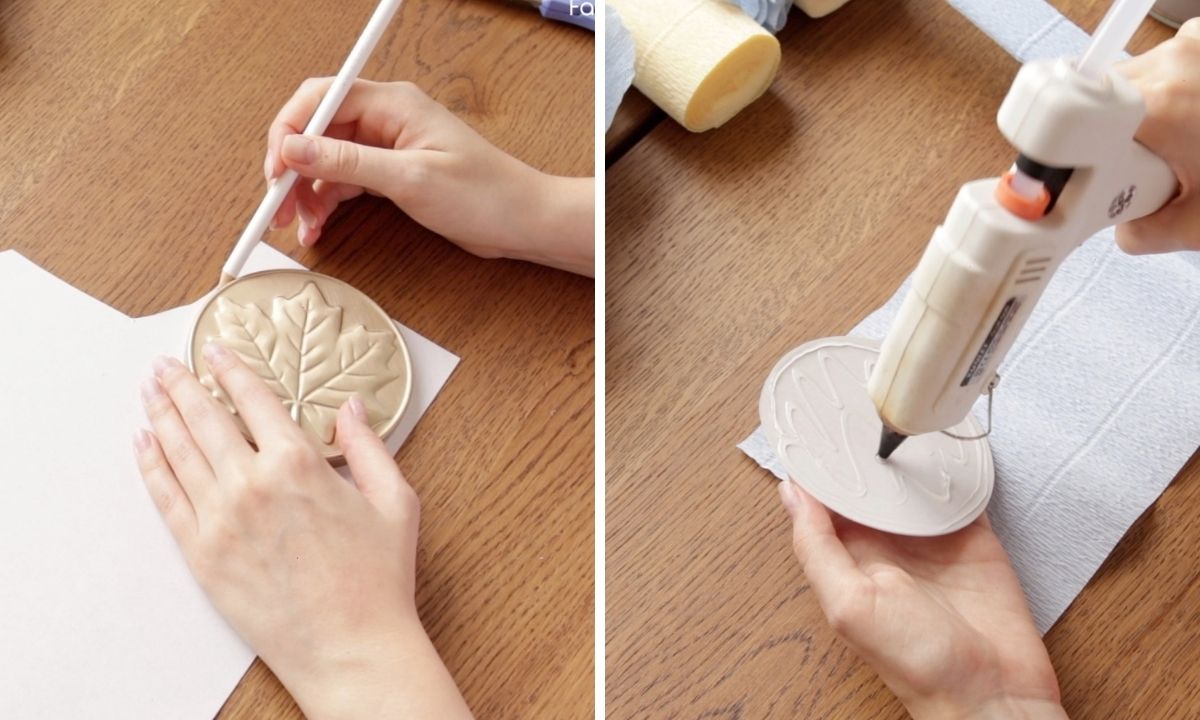
For making a circle I found a candle lid that I had at home. It should be about 4 inches (10 cm) in diameter.
I like to glue the base to the paper first, and then cut it along the contour.
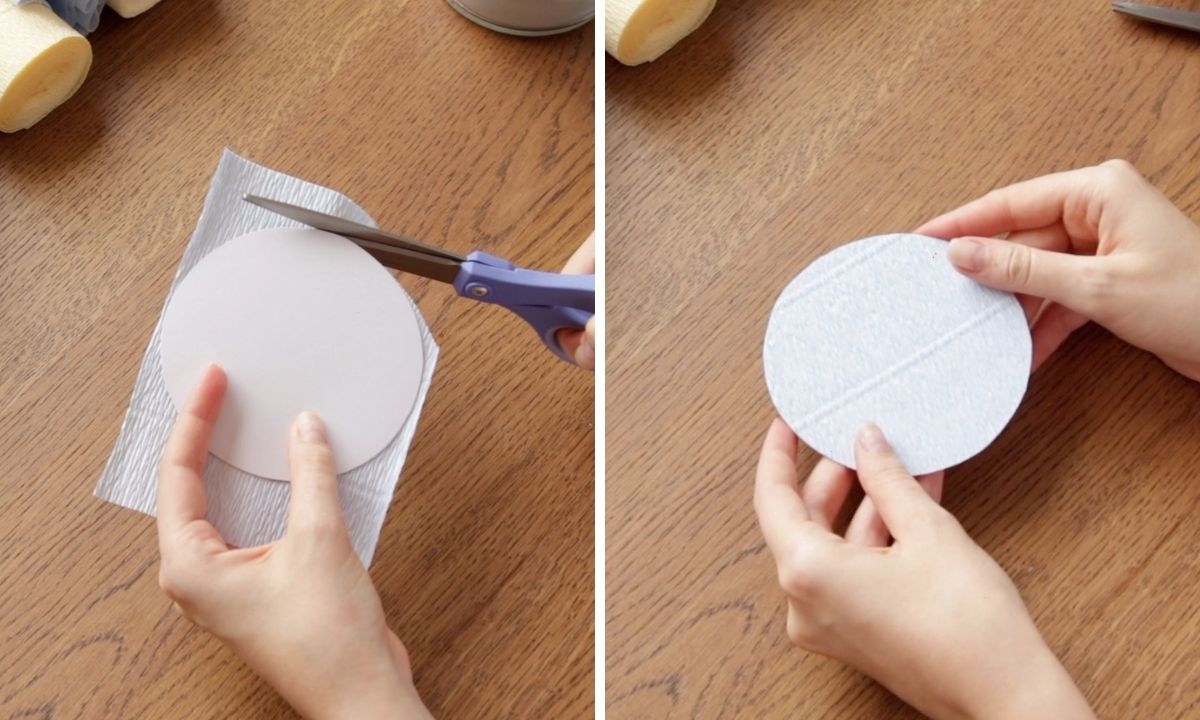
3. Cut and stretch all the petals
For convenience, I recommend first cutting the paper roll in half.
Measure 7 inches in height and cut a strip along the entire length of the roll. And then cut this strip into 3.25-inch-wide blanks.
You should get 15 blanks from this strip.
Next measure and cut a strip that is 6.5 inches high, and you need to cut 10 blanks of the same width – 3.25 inches.
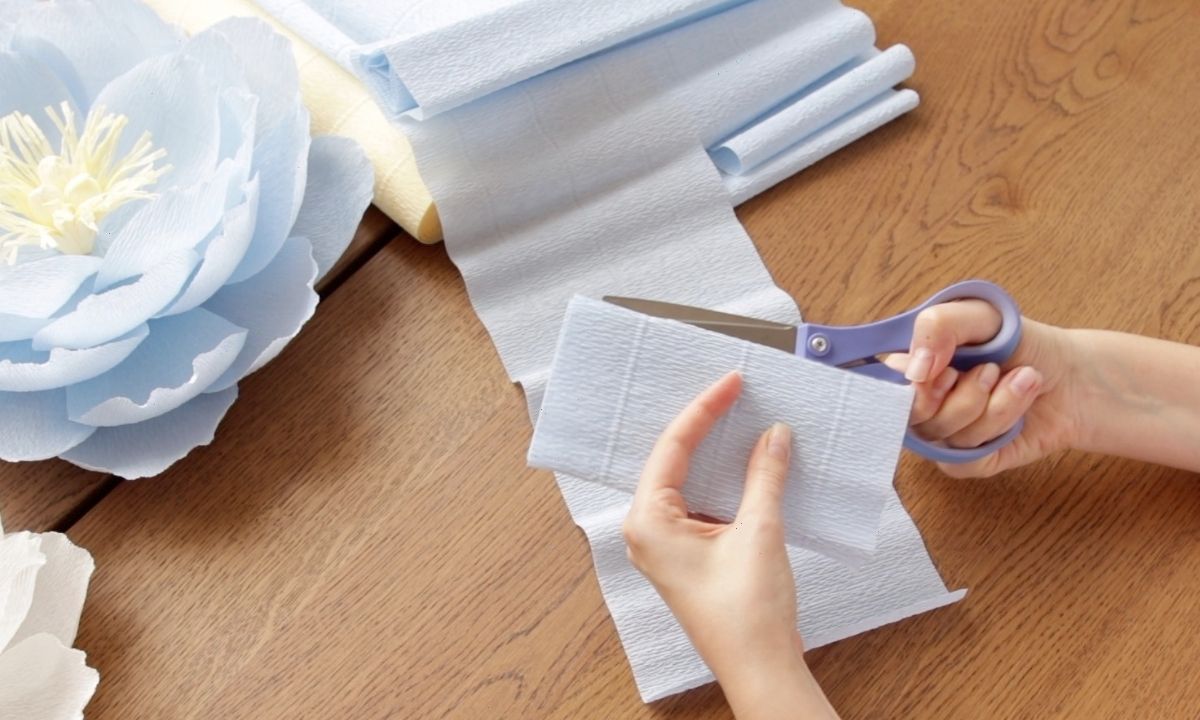
Now when I've prepared all the blanks, I cut out the petals.
It's very simple and you don't need any templates here, unlike for cardstock flowers, because petals have very simple shapes and we can easily cut them out just by eye.
I always cut 2 petals at once to make it faster (but I don't recommend taking more than two, as it will be difficult for you to cut through many layers of paper, and the edge will not be crisp).
So I fold two blanks in half and step from the lower edge, maybe about half an inch, I cut to the middle point, and then I just round the top part.
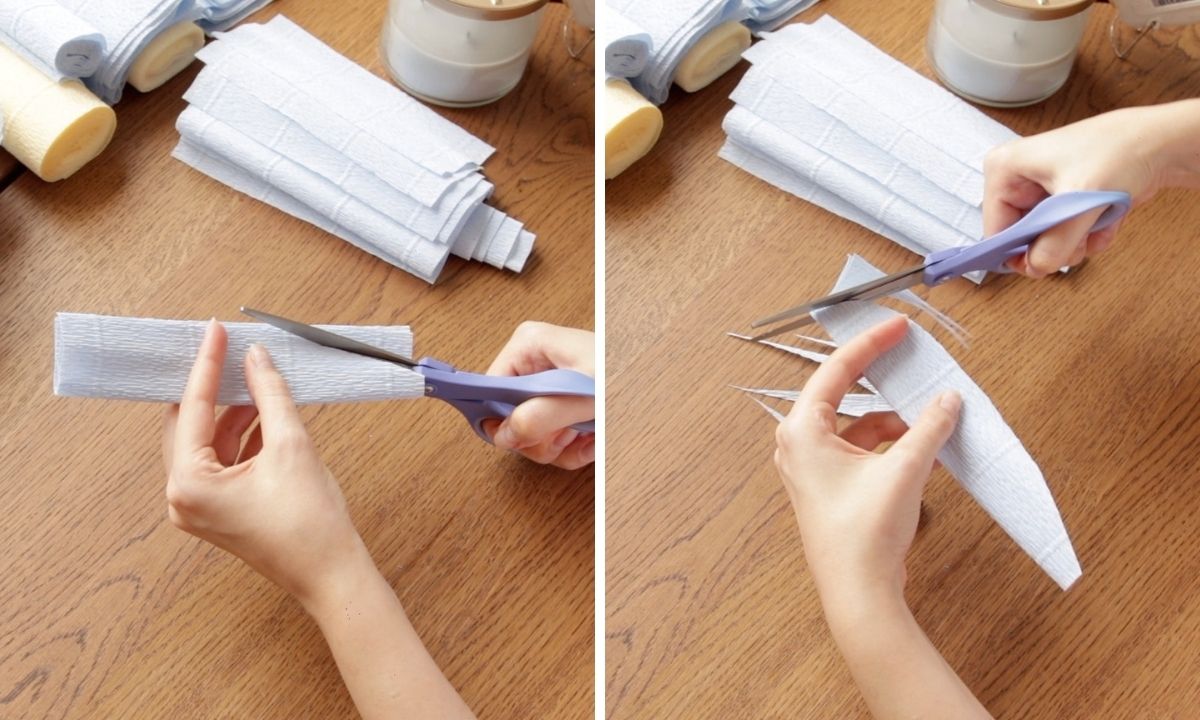
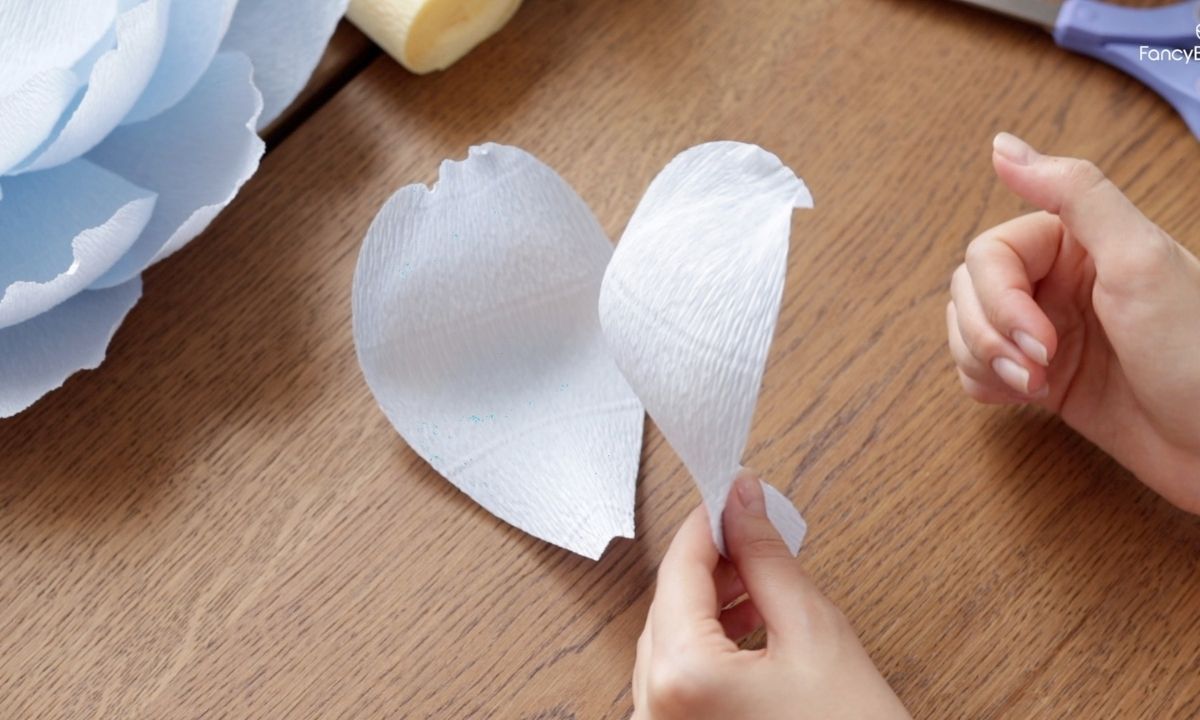
This is the petal shape you should get.
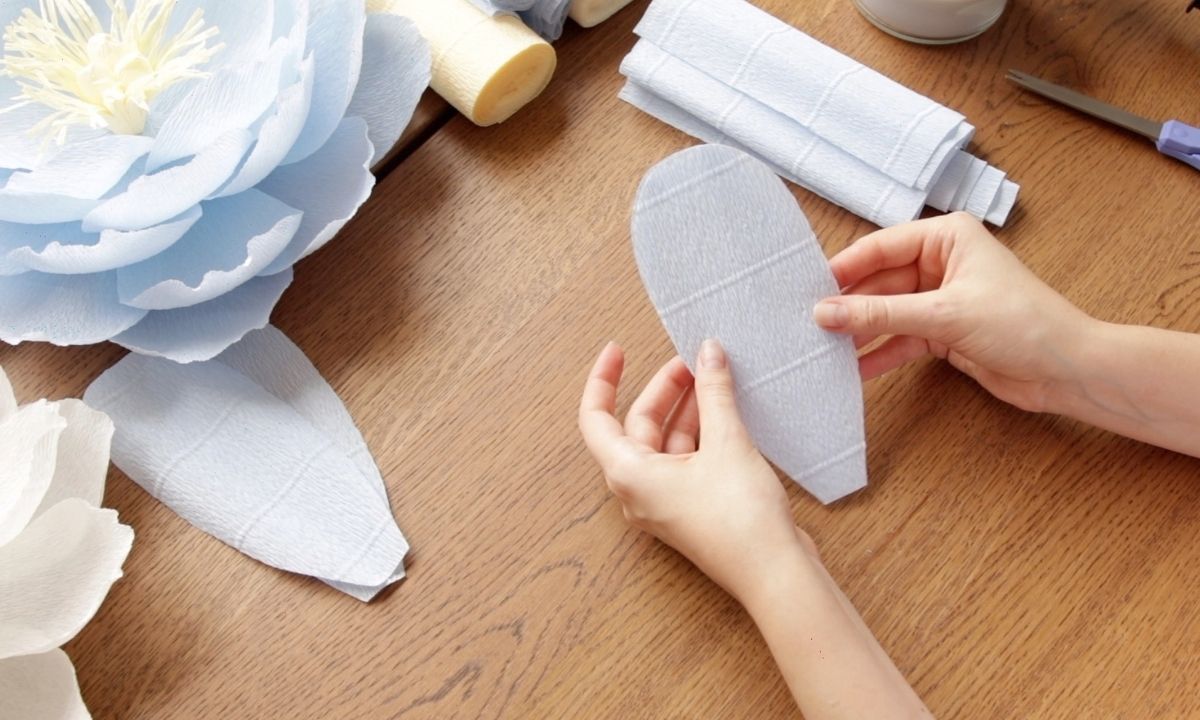
Next we need to shape the petals.
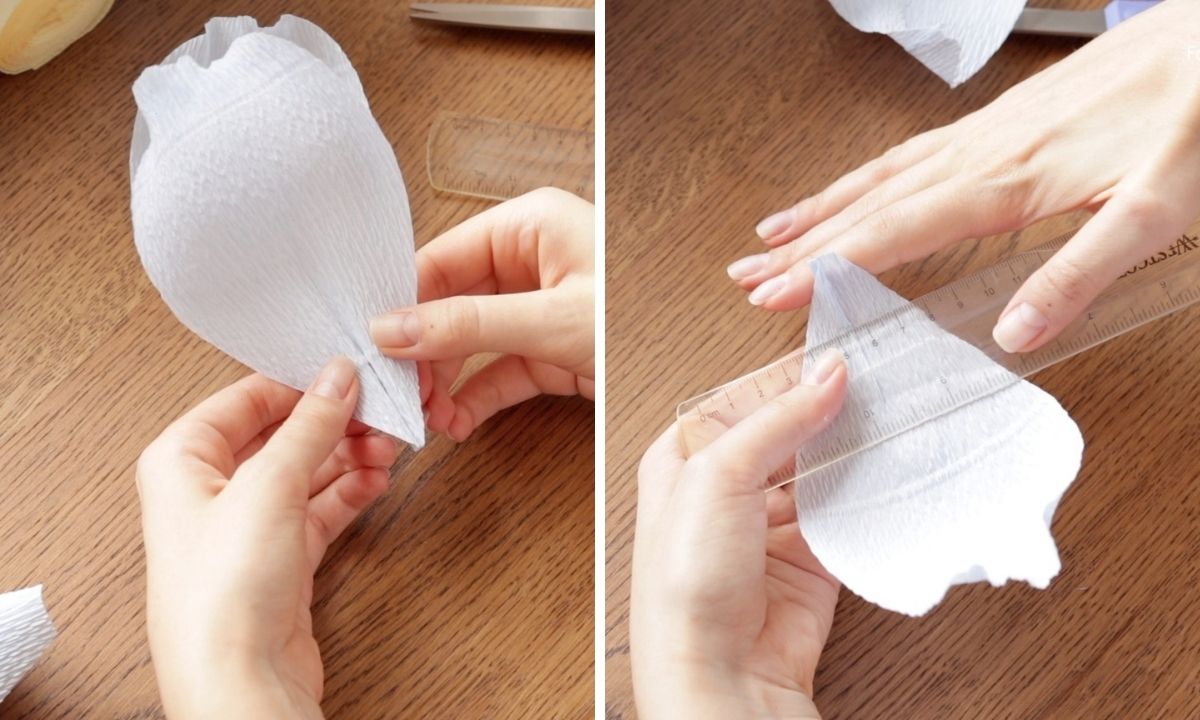
First I gently twist the top edge of the petal. I do this to make the petal look just a little bit more natural.
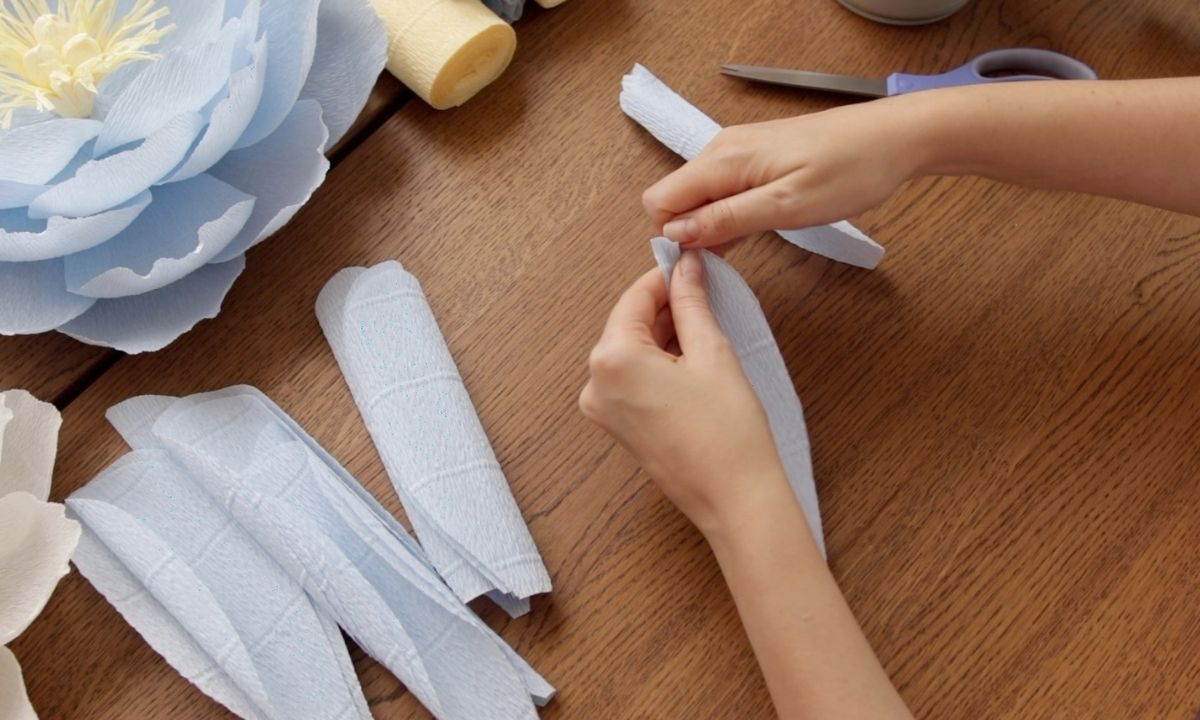
The more you scrunch and twist it, the more curly the petal will be. So it depends on how you like it better. You can leave it flat and not touch it at all, or you can twist it up a lot, so it will be very curly.
Then I take two petals at once and stretch them.
I stretch only the middle part of the petal, I don't touch the top and bottom parts.
Also, make sure you don't overstretch the paper. You need to stretch smoothly and evenly. So like this I stretch all the petals.
4. Assemble the flower
Each row will consist of five petals.
First I flip the base and start by gluing the 1st row of petals from the back side.
Try to evenly distribute all 5 petals so they have approx the same distance between them.
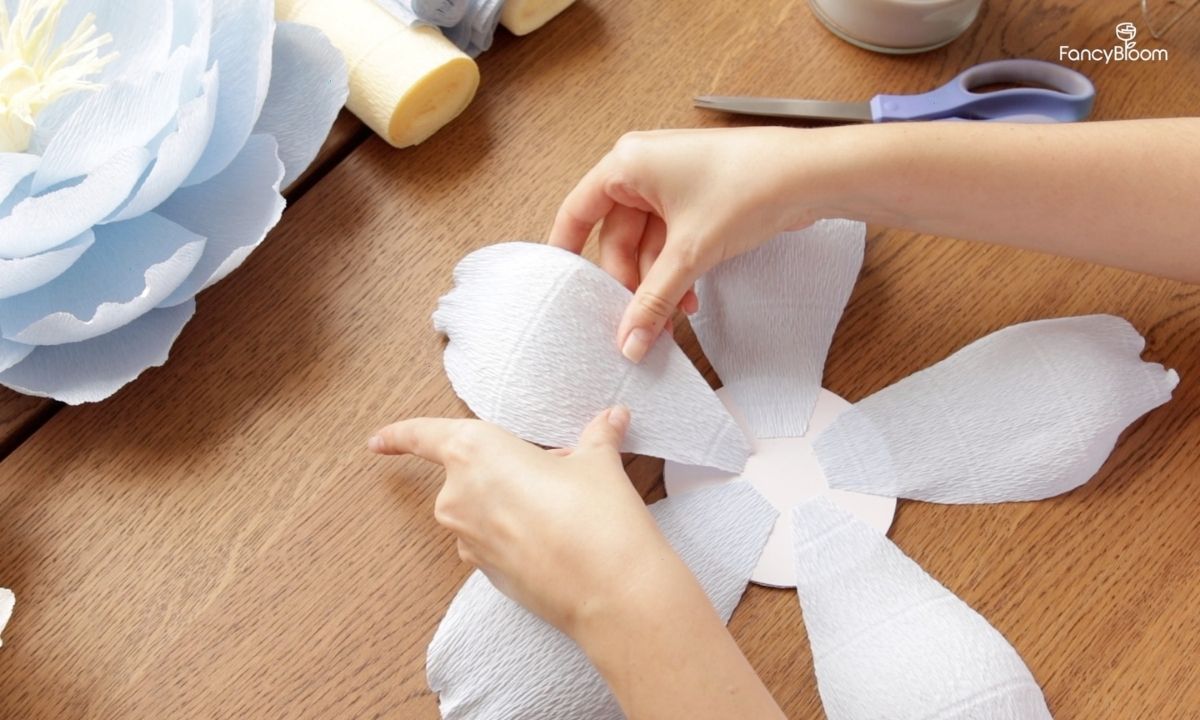
After the first row, I turn the flower over and glue the 2nd row, placing the petals between the petals of the 1st row.
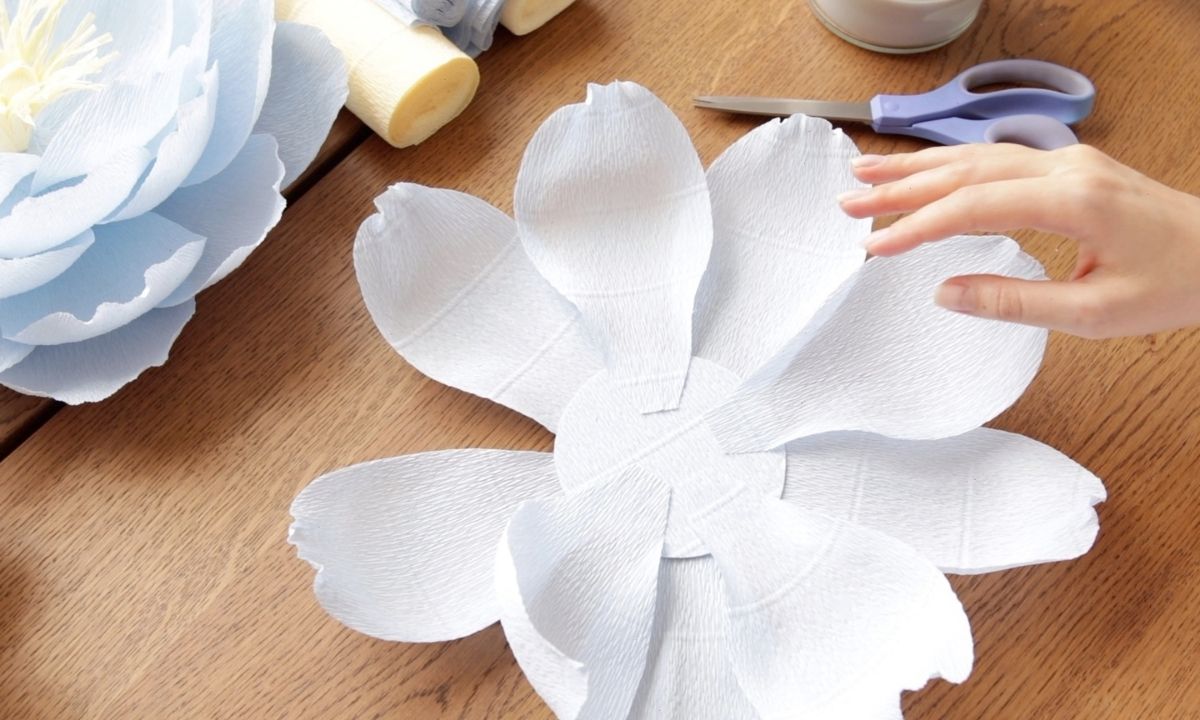
The 3rd row of petals I glue in the same way, but already taking a step towards the center.
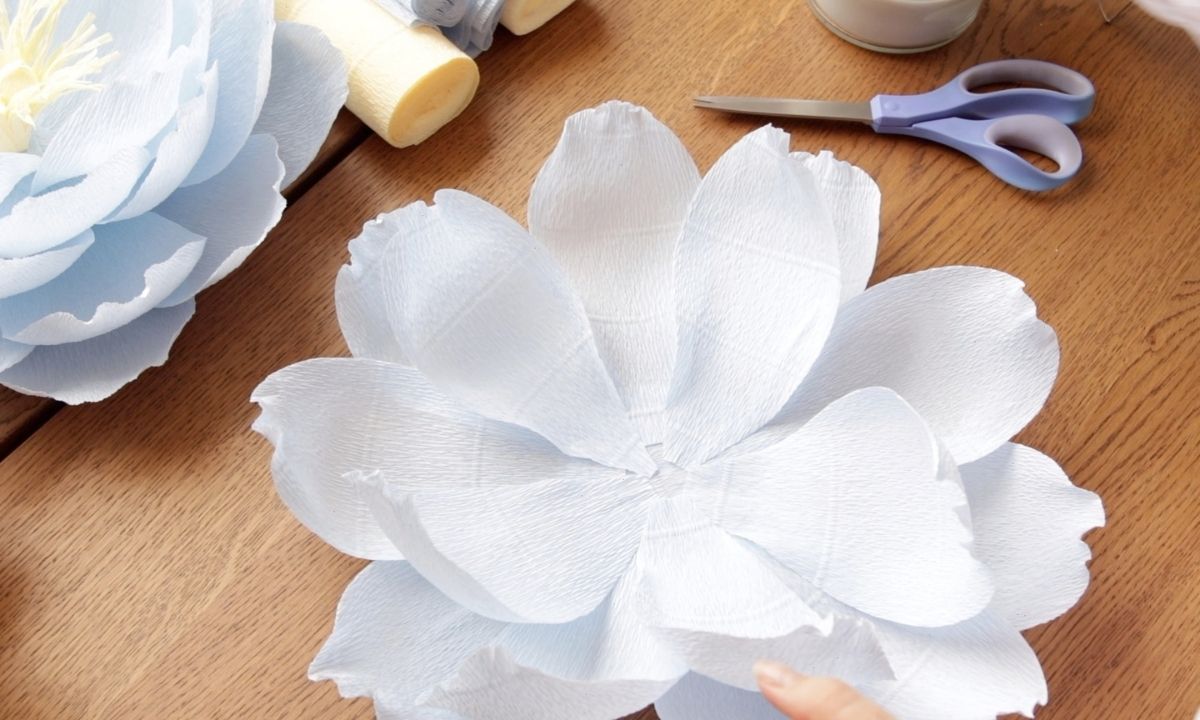
Starting from the 4th row, I would like to slightly lift the petals. Therefore I gather the paper in the middle to create some rigidity, bend the bottom edge and only then glue it, moving even more towards the center.
And the same way I make and glue the last 5 petals.
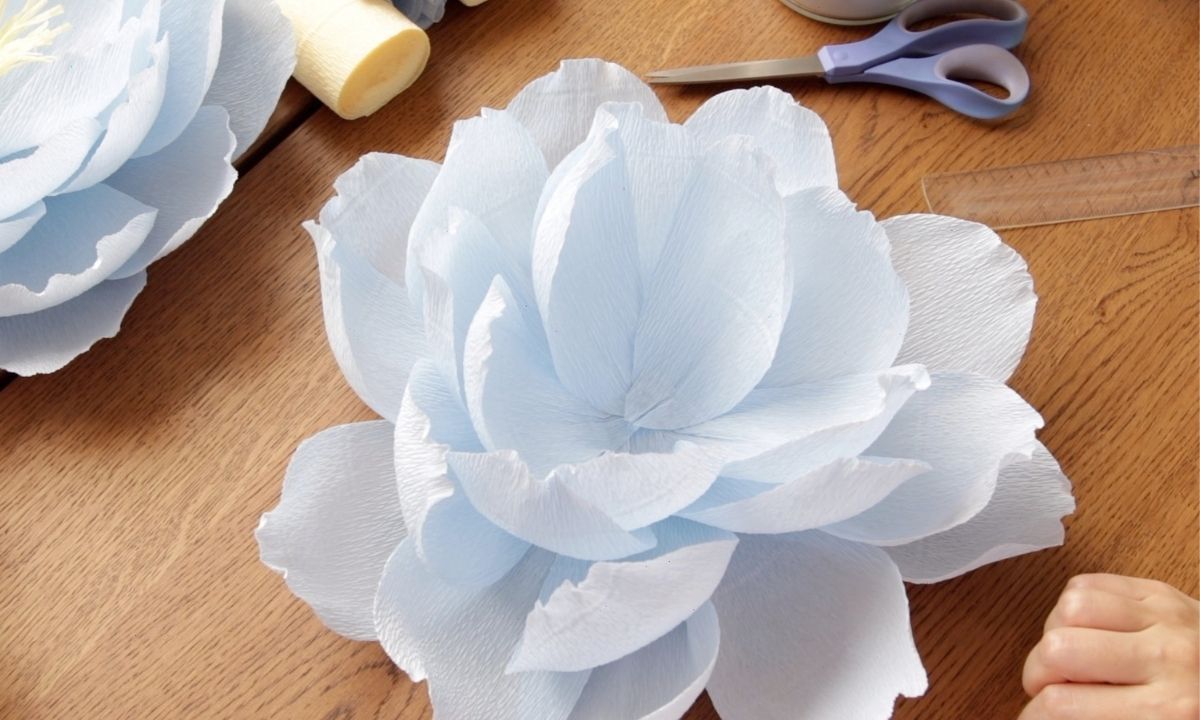
5. Make the flower center
The center will consist of 2 parts – pistil and stamens.
Let's start with the pistil.
To make it, we need three stripes of paper – 4″ long and 0.75″ wide.
I take a strip and twist it very tightly right in the middle.
Then I stretch the paper on both sides, forming the pistil.
And then I put a little glue on the lower part and fix it.
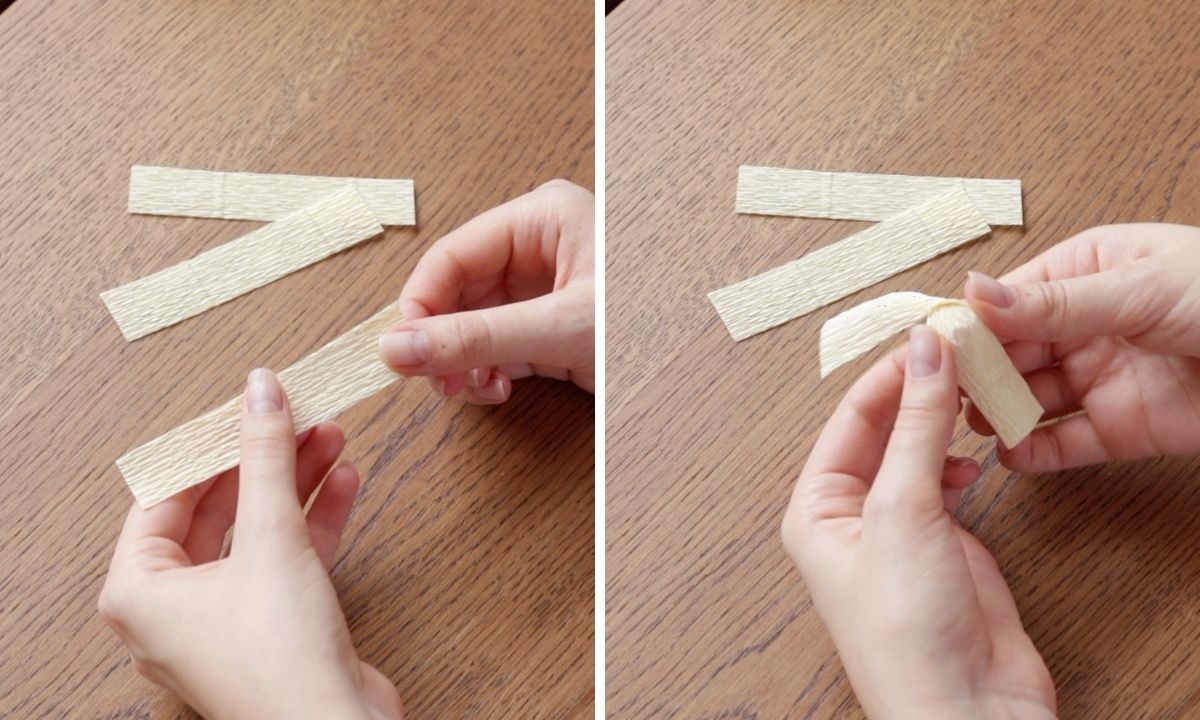
The main trick here is that you need to make this twist very very tight so that it stays in place.
When I make three pieces, I glue them together to form the whole pestle.
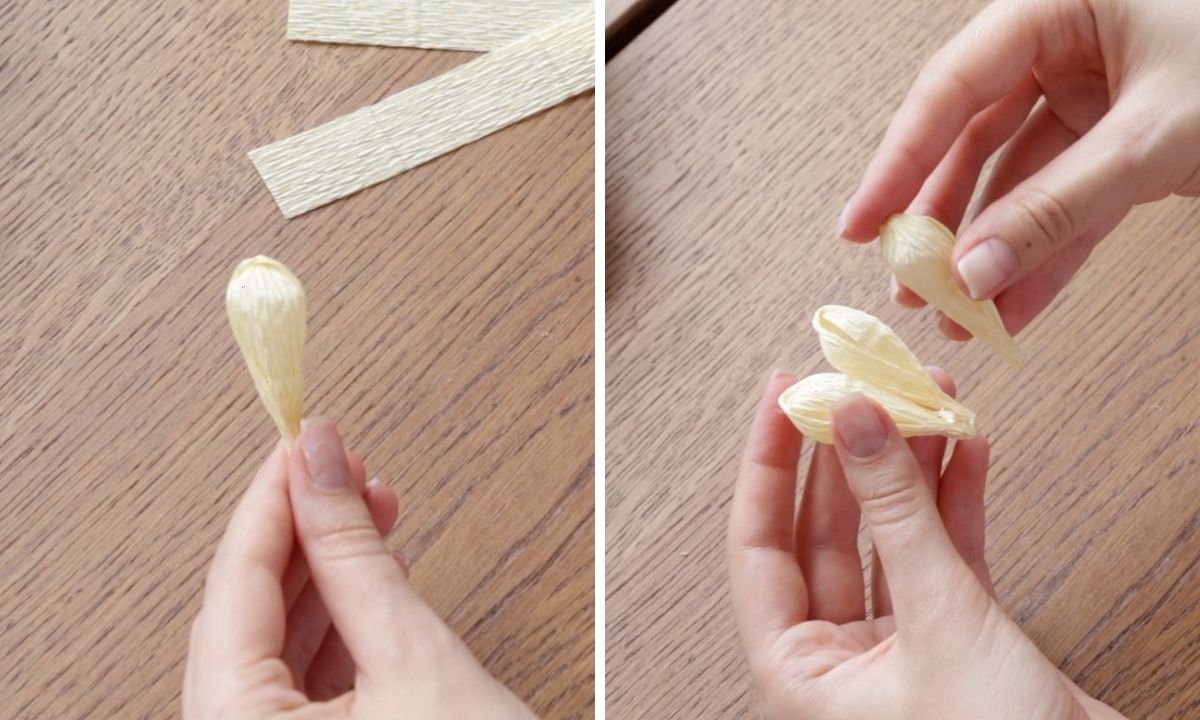
Now let's get to the stamens.
We need to cut a strip 12" x 3".
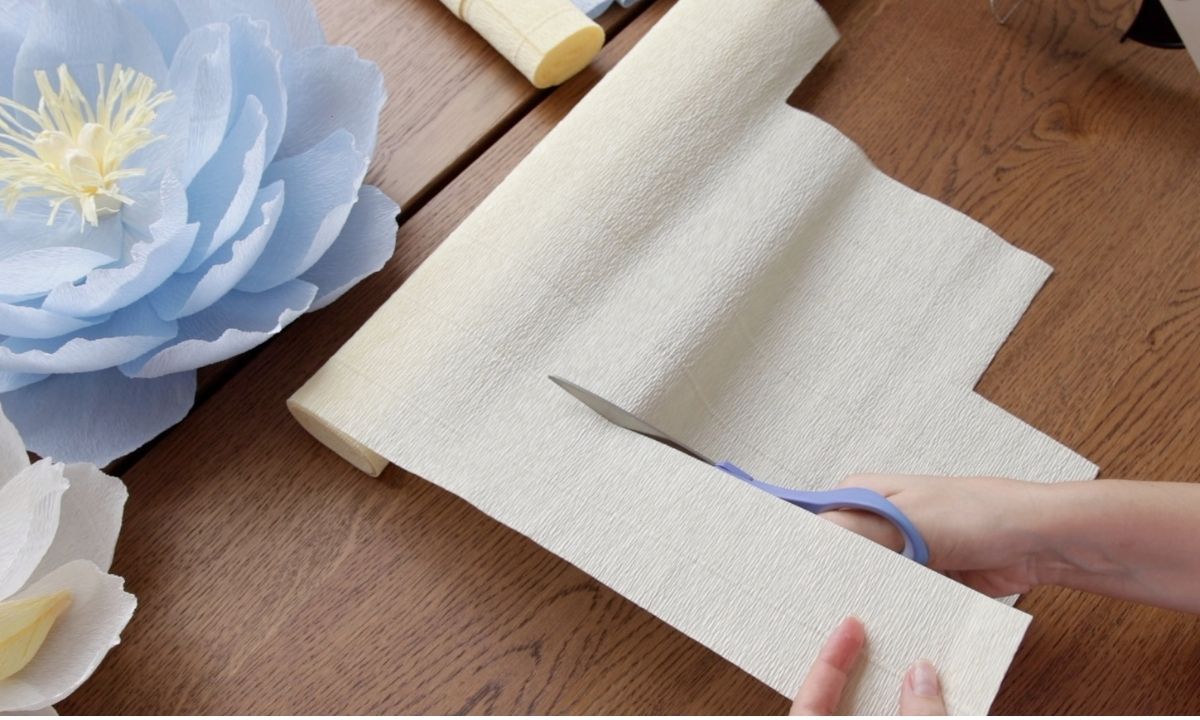
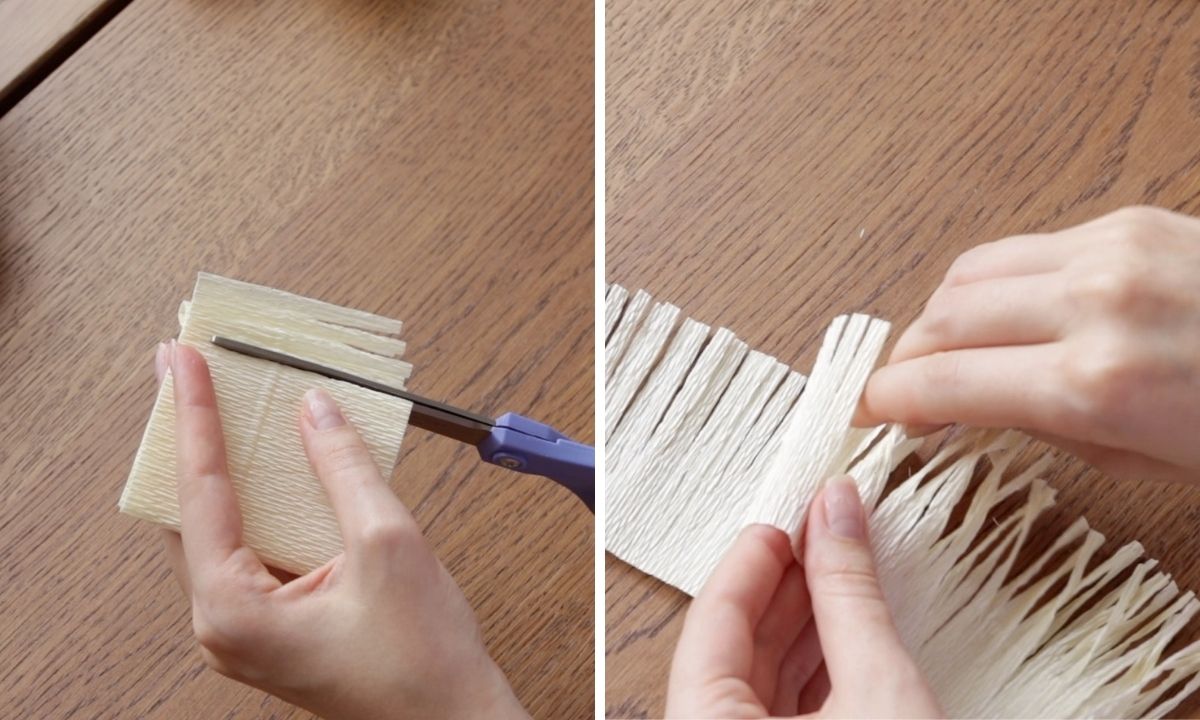
To speed things up, I fold the paper four times and start cutting it into small strips, leaving about half an inch uncut.
Then I twist all the stripes to give it some texture.
And it remains only to glue the stamens to the pistil.
Don't rush and make sure that the edge of the stamen strip is leveled with the edge of the pistil.
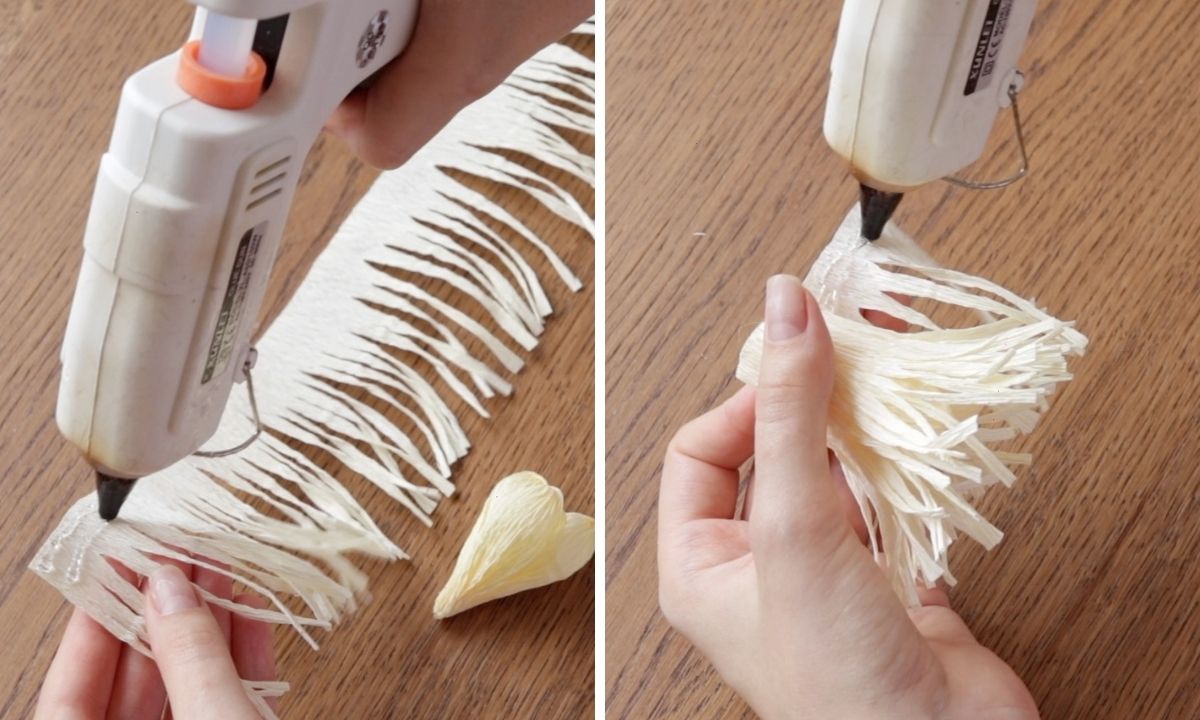
The last step is to glue the center to the flower very well.
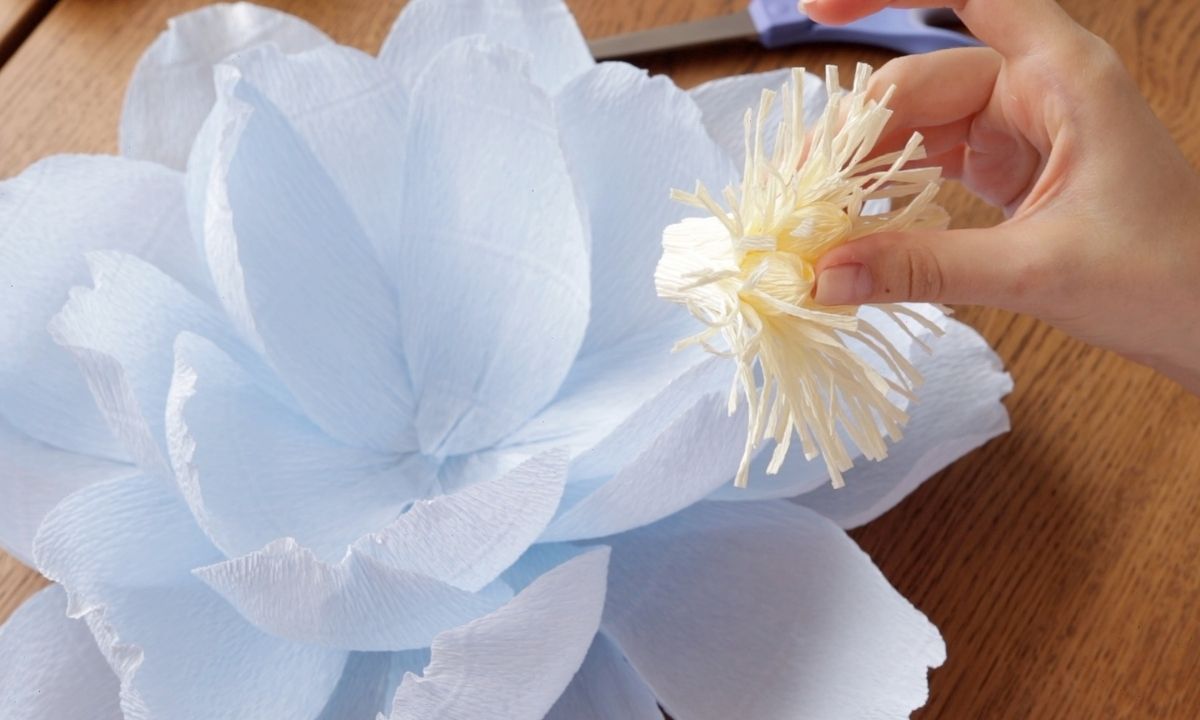
And here is the final result!
I hope you will try to make this flower and you enjoyed this lesson.
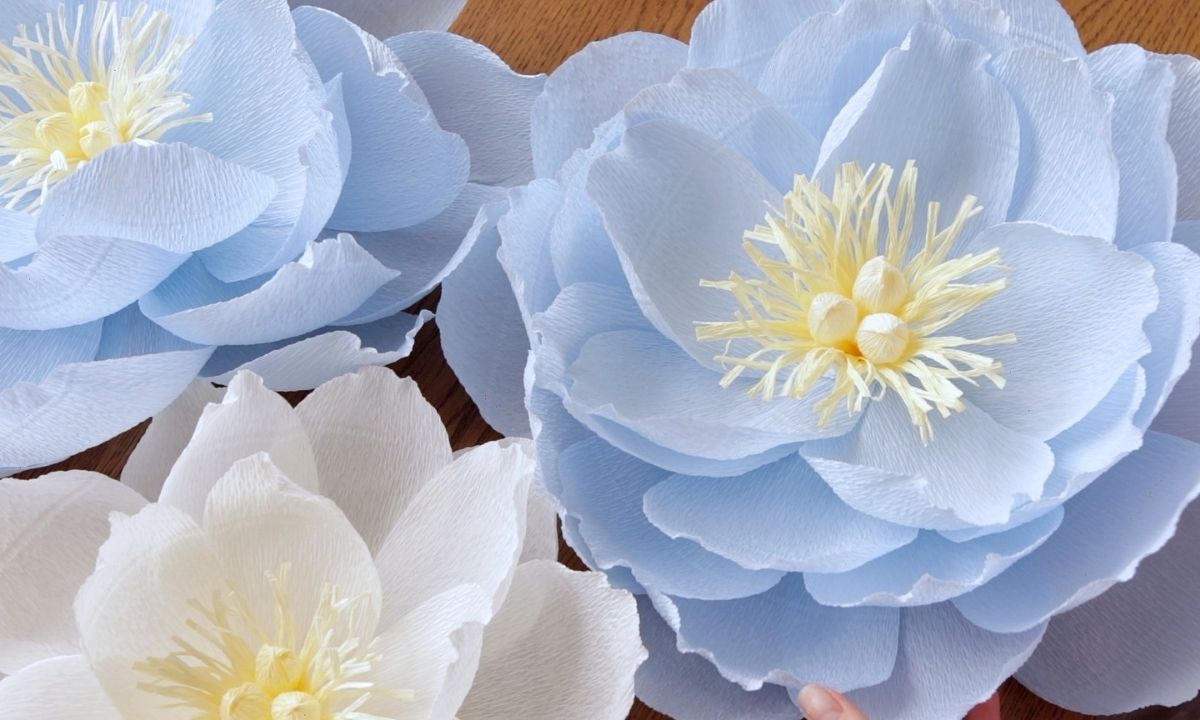
Don't forget to share your works with me by tagging @fancybloom_ on Instagram. And let's chat in the comments🌸!
- June 3, 2022

Hello and welcome to FancyBloom!
I'm Oksana and I love paper flowers and all things paper. Here at FancyBloom I design new flower templates, make paper flower tutorials, and share my ideas and inspiration for fancy and modern craft.
More like this
Free Templates
Check out my freebies to make beautiful paper flowers easy!
Level up your paper flower craft!
Shop FancyBloom
Templates, Resources, Tutorials
Keep reeding
Source: https://fancybloom.net/easy-crepe-paper-flowers-for-beginners/
0 Response to "Easy Origami Flower Crepe Paper Flower Directions"
Post a Comment